Saturday, June 02, 2007

Catch up Post

OK, sorry for the long delay in posts. I did finish the Black Skeleton Strat guitar and it has been delivered to the customer and to her son for his 16th birthday. I have been told that he loved it and stayed up most of the night playing around with it. I have been promised that I would get some pictures of him to post on the blog, but so far have not recieved any (Lorri, if you are reading this, you know what you need to do!). Because of the first guitar, I have been asked to build three more and have had interest from several other people.

Currently, I am working on two Les Pauls and two Telecasters. One Les Paul and one of the Telecasters are going to be made of ash with maple tops and are going to be chambered (similar to semi-hollowbody). They will both have maple necks and a single coil/humbucker pickup combination. The Les Paul will have a humbucker sized P-90 at the neck and a standard humbucker with a coil tap at the bridge. The Telecaster will have a standard single coil at the neck and a "stacked" humbucker at the bridge with a coil split to retain the original look. The other telecaster will have a "Nashville" pickup configuration with three single coil pickups. I am putting a tremolo on this guitar (I am attempting to use the standard "ash-tray" style bridge with the bridge part cut off to use for the bridge pickup).

These three guitars will all have gold hardware. The second Les Paul does not have a customer yet, so I may just try selling it on e-bay or something, but it will have the standard electronics package (I may add coil splitting) and chrome hardware. Well, so far, I have recieved the wood for all these guitars and have started cutting on the bodies. I have routed out the chambers for the two chambered guitars. I still need to go around the bodies with the flush trim router bit and finish routing out the electronics cavities for all of them. Here are some pictures of the wood and what I have done so far with it.
The first four pictures show the maple tops. I have not decided which tops will go on which guitars yet, but here they are. The next four pictures are of of the body blanks, two ash, one alder, and one mahogany. The last four are of the body blanks with the body shape outlined in.
Here, the chambering process is begining and then the bodies cut out. First is the Telecaster and then the Les Paul.


Here are the two chambered bodies and then the two solid bodies. The Telecasters are on the left and the Les Pauls are on the right.

The first picture is of the two Telecasters and the second is of the two Les Pauls.


Well, that's all I have for now. Sorry some of the pictures are sideways, I will try to fix that as time allows. I will also post pictures of Cory and his guitar once I get some (or Lorri can post them herself). Let me know what you think. I sure am having fun doing this. I just wish I didn't have that other job to get in the way! Well, I guess the other job pays the bills and allows me to do this, so I should not complain too much. Well, thanks for looking. I'll add more soon (I hope).
Aaron

Thursday, February 15, 2007

Bad Video, pretty good sound

Here is a poor video of my friend Nick Senn playing the guitar. It was compressed from almost 1 gig to under 100MB in order to get it onto YouTube (where I cannot find it without logging in and looking at my videos), but now you can hardly see anything but moving blurs. Anyway, the sound is what I wanted more than the video, but I could not find a way to only have sound posted. If the video does not work, I will just delete this post.


Well, the video works under the preview anyway, so I guess I will post it. He is playing through a Fender amp (don't remember which one though). Even though the video sucks, I hope that the sound is enough to let you hear what the guitar I have been working on sounds like. The guitar is now finished and I am just going to have a few more people play around with it to get some input on it. As always, thanks for visiting and feel free to leave comments.

Aaron
Tuesday, January 30, 2007

It looks really great! Jim Sturdevant saw your guitar pics. He wants to know if you do accoustics-especially the Ovation. He is really interested in the Classical/Flamenco guitars. Let me know.
Lorri

Saturday, January 13, 2007

Its Black!

Ok, I said on the last posting that I had started painting the Strat and it still had more work to be done, but I had no pictures of it. Well, the first two statements are still true, but now I have pictures. They are not the best of pictures as I am having dificulties with the auto-focus focusing on something other than what I want it to focus on, but I have pictures none the less. I also took some pictures of what I think I will use for the logo on the headstock.

The first two pictures are just of the body. The first without the pickguard and the second with it.


Next are some pictures with the neck in place (not bolted on, but just in the pocket). The first picture shows it without the tremolo and the output jack and the second show it with them (once again, just placed on the guitar, not screwed in place). If you click the images to enlarge, you will see what I mean by the auto focus is not focusing on what I want it to. I may end up just retaking the pictures and replacing these eventually.


Here are a couple of shots from the ground level at a couple different angles. These actually appear to be fairly well in focus. You can see the nice neck joint and some of the "flame" on the back of the neck in these shots.


The last two pictures are of the RCG logo that I came up with. I basically just took a font from MS Word and used Adobe Illistrator to change the "R" so that it had a cross built in to it. Let me know what you think. The "decal" is overhead transparency film with the RCGuitars printed backwords (in outline form) and then filled in with gold paint and is just floating above the headstock, and will need to be trimmed, adhered to the headstock, and sanded down before I spray the final clear coats on.


Once again, please feel free to give me some good old contructive criticism/feedback. I really am interested in knowing what you think about this project and my guitars. Thanks for checking it out,
Aaron
Monday, January 08, 2007

Happy New Year! Sorry it has been so long since I updated this. I was hesitant to do this blog in the first place as I have never been good at journalling and always waited until the last minute when I had to do them for school. Anway, a lot has been done since I last posted. In addition to the guitar work, I have taken a new position in "real work" and just started as a pump tech at work this morning. I am just training at this time and am working seven AM to seven PM, but once I am done training and on my own, I will work one PM to one AM.
Guitarwise, I have finished shaping the neck, fretted the fretboard, done initial fret leveling and crowining, test fit all components and installed all parts including the strings and I even taped the output jack in place to make sure everything was all hooked up right. Most recently, I have spent time painting the body and working on the headstock logo. I also have done some more work on the SG that I started when I first started this guitar. Sorry, I do not have any pictures of the painted body yet or of the SG as I have not had the camera with me the last couple times I worked on them. Here are some pictures since the last posting, mainly showing the fretwork and the parts fit up.

The first three show the neck, the headstock with cross inlay in bone, and the bone hand and fish fretboard inlays.

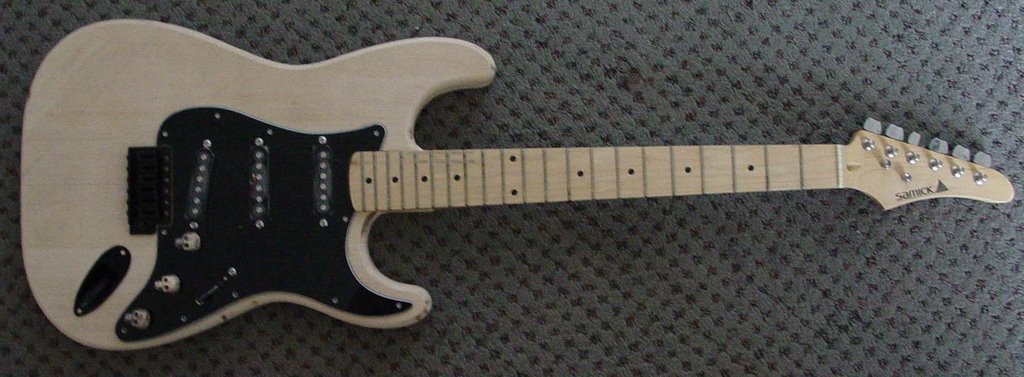
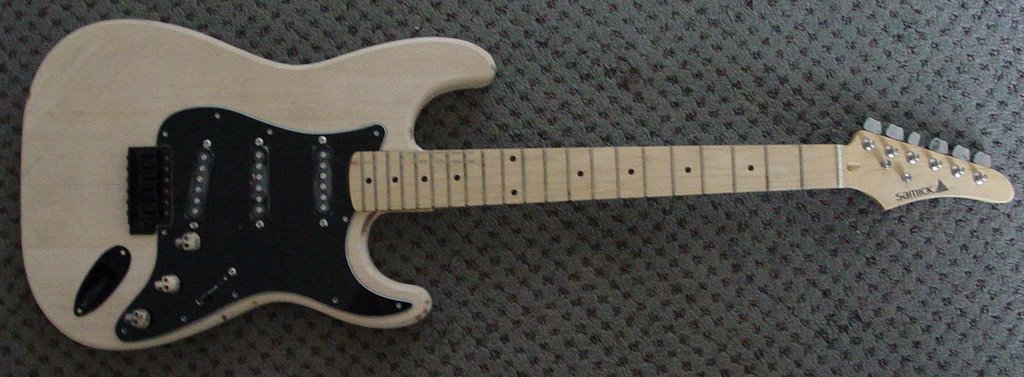
Next, here are some pictures of the guitar with all the parts fitted to it. The neck is bolted on at this point, but everything else is just being held on by double stick tape to get an idea of how it will all look and go together. The first picture shows the guitar with the neck I have built and the second picture shows a picture I posted earlier with a neck from a different guitar, for comparison purposes.

Here are some closer up pictures of the body and neck.


Lastly, I have given the guitar a serial number, it's RCG ST0601. The RCG is for Rugged Cross Guitars, the ST is for Stratocaster style, the 06 is for the year built (started), and the 01 is the number. Since this is the first guitar I have built to sell, I'm sure that once I become rich and famous making guitars, this guitar will be worth millions!

As always, thanks for viewing my blog, I know some of you check it more often than I do based on some feedback I have gotten. Lorri, here's your update, so now you can show John and friends. I hope to have more pictures soon with the logo on the headstock and showing the body painted. Later,
Aaron

Tuesday, December 26, 2006

How about an update

Hey A-Ron,
Thanks for the Guitar pics at work. How about an update on here so I can show them to everyone? (Except Cory, of course!) You are doing a great job, so keep up the good work! Glad you decided to follow your dreams!

Lorri

Tuesday, December 19, 2006

Happy Birthday Aaron!

Happy Birthday to you,
Happy birthday to you,
Happy birthday dear brother,
Happy birthday to you.

Love,
Alyssa

Saturday, November 25, 2006

Neck and Body Contouring

Well, I have actually done quite a bit since the last post, but I keep forgetting the camera. Today, I did a bunch more and brought my camera, but it decided to stop working, so I could not get the images I took while working off the CD. Luckily, we just got a new camera and I was able to take pictures of the current status of the guitar. Since the last post, I have cut out the neck, routed the neck, rough carved the neck with a router, done some final shaping on the neck, routed the truss rod channel, installed the truss rod, cut out the fretboard, radiused the fret board, slotted the fretboard, inlayed the fretboard, and carved the body contours (I told you I had done quite a bit!). Since I cannot pull the images off the old camera's CD, I do not have any pictures of the progress, but here's the pictures I have taken after the work was done.

The first three pictures here show the neck, with the tuners just placed in to check fit. I am going to have to grind down the bushings slightly to get them to fit propperly. On the second picture, you can see some of the "flame" on the back of the maple neck. This will be finished with a clear tung oil finish, so the flame will still be visable. The third picture is just a close up of the headstock, which I still need to rout for the cross inlay. You can also see the truss rod in place with some silicon caulk which is supposed to minimize vibrations of the rod while playing.

The next two pictures show the fretboard with the bone hand inlays and the bone fish inlay. I think that the fish may have been backwords, but I think that is how I did it on my Les Paul also. Maybe it is because I am left handed and have everything backwords. I have not yet put the frets in yet, but I have a new tool to help with that also, so hopefully that simplifies things for me. The headstock will also be painted black and will have a Rugged Cross Guitars logo (probably just the initials "ORC") in the form of a decal placed on the headstock below the cross.


The following pictures show the contours carved into the body. In a previous post, you could see the outline of where the contours were going to be, but they were not carved out yet. I have discovered the use of another tool in carving these contours: the rasp. I had bought them for my first electric (the Les Paul), but could not figure out how to get them to work correctly. Now that I have used them, they will definately save some time in carving parts.

The top two pictures show the front and the back with the routed cavities and the body contours. The last two, show the profile view and an angled view to see how the two contours fit together. As mentioned in previous posts, the body will be painted satin black. I just picked up the paint today, so once I get all the parts sanded down, I will start with the finish. I will probably use two coats of primer, four coats of satin black, and four to six coats of clear satin finish.


Thanks for checking the blog. I am keeping the old camera at the shop, so hopefully it will start working again and I can keep the blog updated as I do the work instead of after I finish several steps. Let me know if you have any suggestions, questions, or comments on the guitar or the blog. I am always looking to improve. Thanks,

Aaron
Saturday, October 14, 2006

Routing the Body

I went over to the shop today with the intentions of routing the edges of both the Strat and SG bodies that I have started, but I forgot my camera, so I cannot show any progress. Also, the guide bearing for my template bit broke, so I was not able to get to the SG, but I actually got further along on the Strat than I had planned. I was actually able to do all the cavity routing and the neck pocked routing as well as rounding over the edges. Some of the routing was a bit trickier than I had expected, especially the electronics and tremolo cavities. The edge routing went pretty well, I just had to go over it several times to get the full width of the wood. It is not perfect, but nothing that some sanding will not be able to smooth out. The roundover bit for rounding over the edges of the guitar body worked extremely well and was smooth and quick.
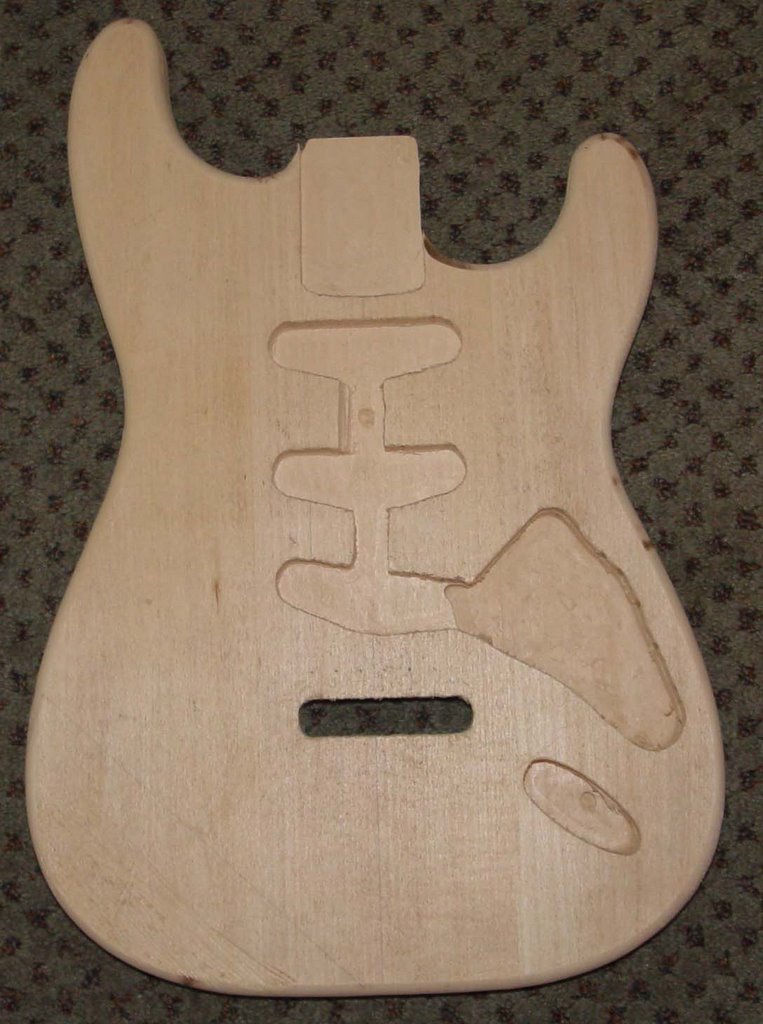
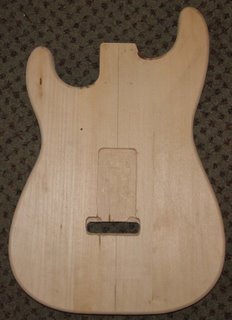
Since I did not bring my camera over to the shop, I will just show what the current state of the guitar's body is. Here are a couple pictures of the front and back of the body with all the cavities routed out and the edges rounded over. The first picture is the front (with all the electronics cavities and neck pocket routed out) and the second is the back. You can see on both pictures where I have drawn the contour lines to be carved out at a later date.


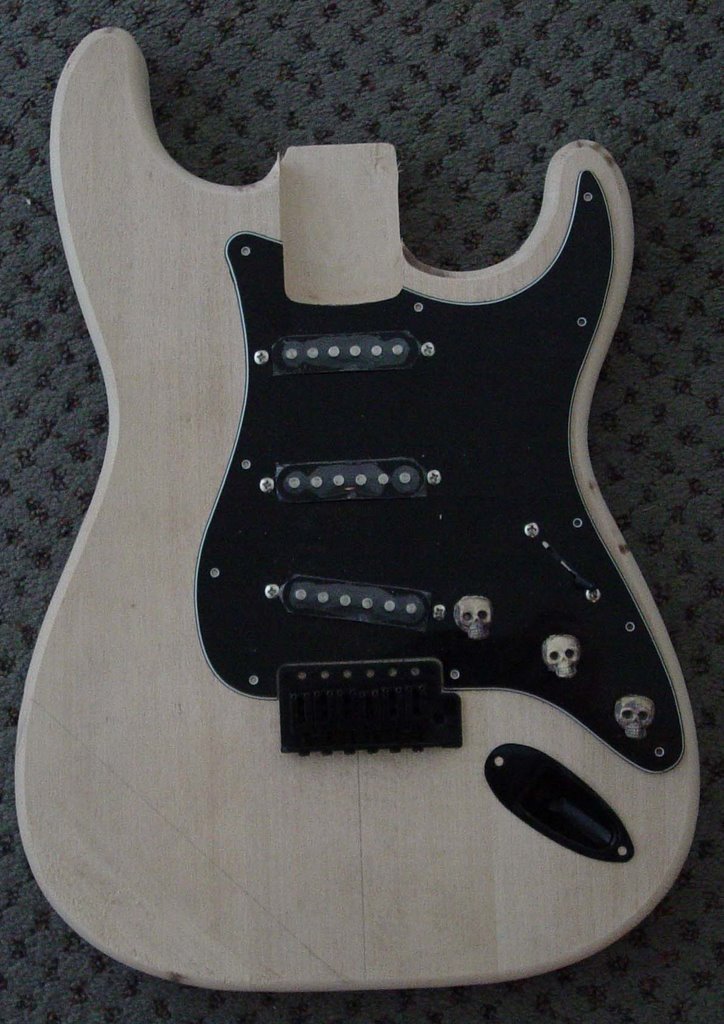
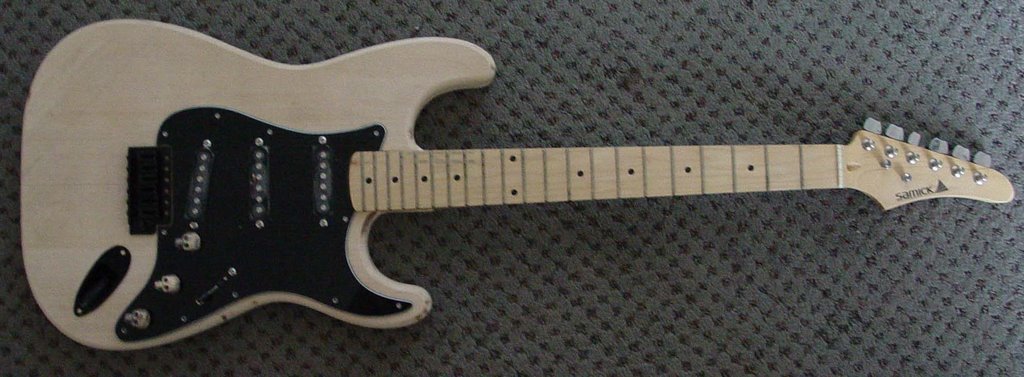
Next, I decided to see how some of the parts that I have bought will look and fit. I think it looks pretty good, but I am open to any suggestions and comments. Remember, this guitar is going to be painted satin black and is going to have all black hardware to give it a "goth" look. The skull knobs are from some skeleton garland that I bought from Micheal's for $4 for a set of eight. I just cut the back of the head flat and drilled for the pot's shaft. I got the idea for the knobs by looking on E-Bay and seeing some skull knobs for sale on a couple guitar parts places. I am also going to use other parts of the skeletons for some of my inlays. I hope that it is not too contradictary or sacreligious to have all the skeleton parts when I am trying to build guitars with a Christian theme, but I will still try to encorporate my cross and fish that will be part of all of my guitars. The neck that is shown on the last picture is from a guitar that was given to me by my Sunday School teachers and was already gutted, so I am using it to get measurements from and check the fit of things. The neck I am building will have an ebony fretboard (the back of the neck is going to be natural maple).


Well, I still need to finish designing the headstock and get a new bearing before I can really do too much more. Thanks for visiting.